|
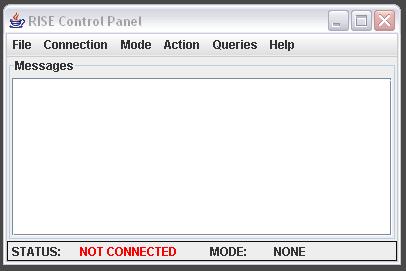
USER INTERFACE Step 1: As soon
as the hardware is set up and a wireless connection is established to the 802.11
Network, the user interface can be launched.
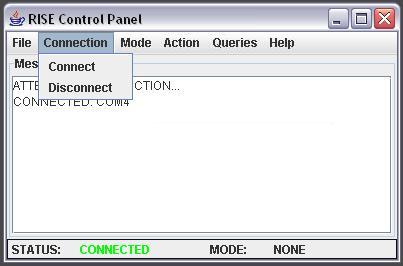
Step 2: On the "Connection" group, select "Connect" to locate the remote
COM port. Information is shown in the messages text box including possible
errors and a "CONNECTED" notification when the connection is successfully
established.
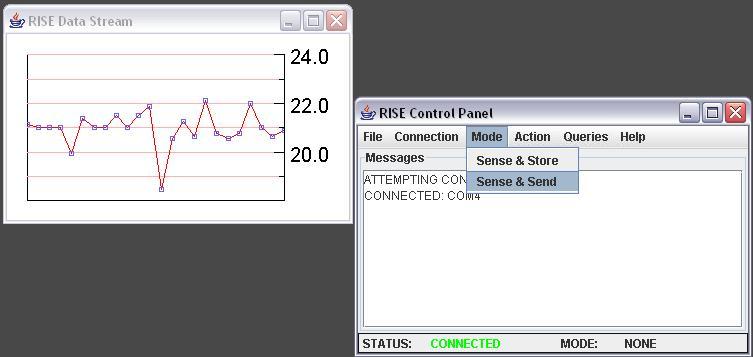
Step 3: On the "Mode" group both Sense-and-Send as well as
Sense-and-Store are shown. Selecting the Sense-and-Send, values are directly
transmitted to the receiving device (in this case the laptop). The values of the
data stream are plotted real-time as shown below.
Step 4: Selecting the Sense-and-Store mode, the data are stored locally.
In the "Actions" Menu list one can select either of three functions: Get Bulk
(which allows all the data to be received), Get Block (which only fetched the
latest bloc written on the Flash) and finally, an Erase Flash function.

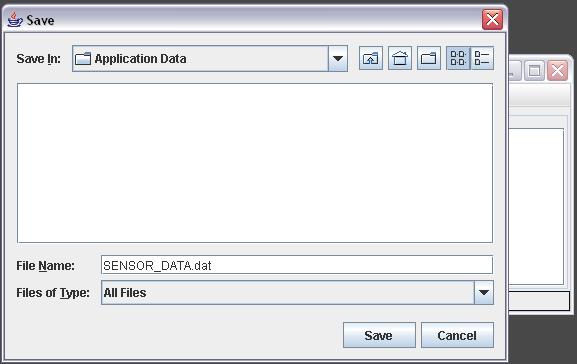
Step 5: When a data fetching command is selected (Get Block or Get Bulk)
then data can be saved in a user-selected file and location.
Other Functionality: Queries
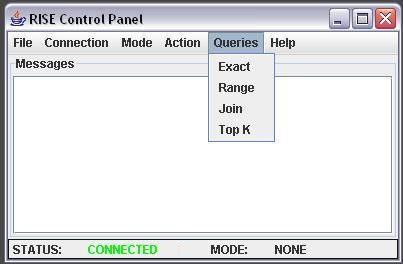
Selecting a type of query
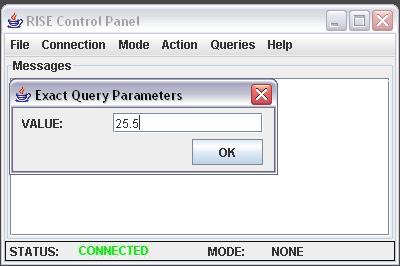
Setting the parameters |