Lab 1 - Introduction to Ogre and Blender
Preliminary Introduction
In todays lab you will be introduced to both OGRE and Blender. You will be constructing a basic scene using provided prefabricated characters bundled with OGRE. The starter code and OGRE sample assets will be provided. Once you have the system working with the prefab character, you will replace it with a character of your own design created and exported using Blender. Since numerous thorough tutorials and guides have already been written which cover the material of today, this page will serve merely as a reference and as an outline of what is to be expected.
This lab will be due by the beginning of next lab. Quality work will be expected for full credit. If for some reason you are unable to complete a portion of the lab, please do not hesitate to ask questions. I much prefer you come see me to help resolve your difficulties than to come into lab the following week with buggy/poor results. Also, if a lab seems too overwhelming feel free to send me an email saying so. The labs have been designed to be flexible and there is the possibility that some will need adjustment. With all that said, have fun!
Configuring your Shell Environment
Before we can begin using OGRE a few simple configuration tasks are needed. At the end of your .bashrc file, append the following line:
source /home/rgl/website/tempMS/cs134/cs134_environment.sh
and run
source ~/.bashrc
for the modifications to occur immediately within your current Bash session.
This will set a few Bash environment variables that will give you access to additional programs and libraries which will be used in this course. When running a program, libraries and programs will first be searched for in the paths specified in this file. Disclaimer: it is possible that these environment variables may cause certain programs to stop operating or wrong versions of libraries to be used. This may present a problem for other courses. While this probably won't happen, if certain issues begin cropping up in other classes be sure to comment out the aforementioned line and rerun the source command.
Downloading and Compiling the Sample Application
Now that your shell environment is properly set up, you should now be able to download, compile and run the OGRE starter code. Download the code from this link.
To untar, build and run the program execute the following commands:
tar xvzf lab1.tar.gz

  make -j2

  ./ogreapp
If everything went well you should see the Ogre startup window. Choose your preferred option and hit ok. You should now see the following empty window:
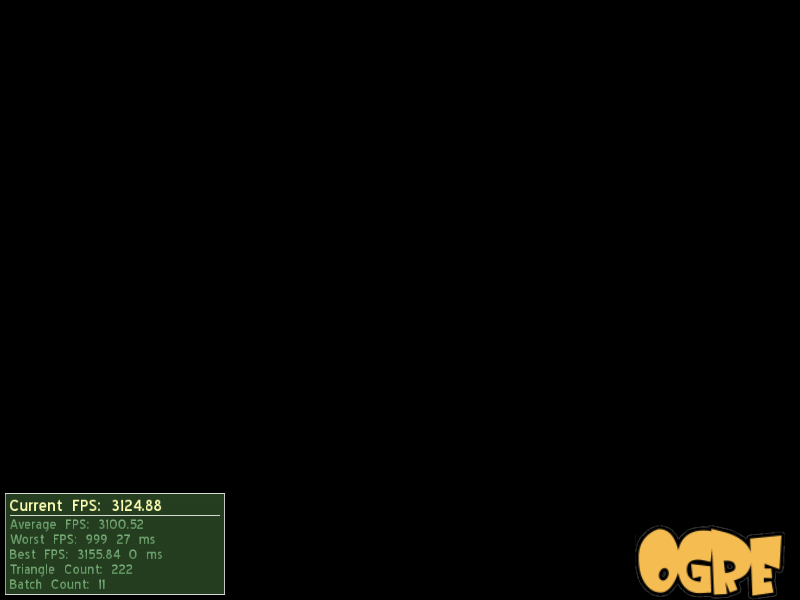
Modifying Your Application
Now comes the fun part; creating your very first Ogre scene. Since this is the first OGRE program you will be writing the scene will not be too complicated. This lab will serve to introduce you to OGREs scene graph system. We will do this by first adding a couple of OGRE prefab characters into the abyss. Once you have the characters placed, the next step will be to add a rudimentary environment. For this, a simple plane along with a skybox with suffice (we'll delve into more advanced environments in future labs). Next, we need to illuminate the scene using more than just ambient lighting, so we'll go ahead and introduce a couple of colored point lights. Finally, to put the icing on the cake, we'll construct our own character and import it into OGRE.
So to enumerate what is expected:
- Add one or more prefabricated character models into the scene.
- Add a ground plane and skybox.
- Add a few lights to illuminate your creation.
- Augment your scene with your own character model produced in Blender.
OGREs website provides an abundant collection of documentation. with the most important pieces being the manual and API reference. For this lab, you should be looking at the OGRE tutorial section which will help you get up to speed quickly. You should spend some time reading Basic Tutorial 1, Basic Tutorial 2, and Basic Tutorial 3 as each will cover some requirement (except the last) in detail.
Creating a Model in Blender
Now it's time to add you own creation into the OGRE world. This tutorial will guide you through the process of creating a character using the OGRE interface. Additional tutorials explaining Blenders UI can be located in the manual. Hopefully, many of these skills and concepts should be familiar to you from CS130 and should not require too much effort to translate over to Blender.
Once you've completed your model the next step is to export it out
into OGRE's format. The manual
for the exporter will show you how (be sure to assign some default
shader material onto the character and to choose an export
directory). After exporting you should end up
with both a
OgreXMLConverter YOUR_MODEL
You should now have a
In future labs we will look at how to UV map a texture onto the model as well as how to animate, so stay tuned!
| Close |